How to Sharpen a Chainsaw Chain (And When It's Time to Replace It)
A sharp chainsaw chain pulls itself into the wood. A dull one bounces, smokes, and makes you push down to keep it cutting. The difference is dramatic — sharpening is one of the highest-leverage maintenance tasks on a chainsaw, and most owners do it less often than they should.
The good news: sharpening a chain is a 20-minute job once you have the right file and a few minutes of practice. The bad news: most YouTube videos make it look easier than it is, and a poorly-sharpened chain cuts worse than a dull one. This guide covers the basics and the common mistakes.
If you're sharpening to fix a chain that's badly damaged — multiple chipped teeth, hit a rock, or worn past the witness mark — sharpening won't bring it back. Skip to the "when to replace" section.
What you need
Before you start, you need three things specific to your chain:
1. The right round file size. Chainsaw cutters have a specific curvature, and the file has to match. Common sizes:
- 5/32 inch (4.0mm) — small saws, low-profile chain
- Oregon 3/16" round files (4.8mm) — medium saws, most consumer use
- 7/32 inch (5.5mm) — larger saws, full-chisel chain
- 13/64 inch (5.2mm) — some Stihl-specific chains
The file size is stamped on most chains or printed on the chain's box. If you don't know yours, look up your chain's part number (printed on the side of the drive link) — manufacturers' websites and most hardware store reference guides list the correct file size.
2. A flat file for the depth gauges (rakers). A standard 6-inch flat file works. The depth gauges are the rounded protrusions ahead of each cutter — they control how deep the cutter bites into wood.
3. A file guide (optional but strongly recommended). A guide holds the round file at the correct angle relative to the chain. The Stihl 2-in-1 EasyFile and Pferd Chain Sharp CS-X are popular choices — most guides in this format run $15-30. Without one, you're freehanding the angle, and angles matter — being off by 5 degrees produces a chain that cuts crooked.
A bench-mounted guide ($30-80) is even better for home use. Electric grinders ($150-300) are the fastest option but are easy to overheat the cutter and ruin the temper if you're not careful — most home users are better off with a hand file.
Setting up the saw
Sharpen with the saw secured. A vice grip mounted to a stump, a bench vise, or even just clamping the bar to a sawbuck — anything that keeps the saw still while you work the file.
Engage the chain brake. This locks the chain in position so it doesn't move while you file.
Make sure the chain is at proper tension. A loose chain wobbles when you file it; an overly tight chain doesn't rotate easily for filing the next cutter.
Find a starting point. Pick the shortest cutter on the chain — that's your reference. Mark it with a Sharpie or a marker so you know where you started. You'll work all the way around the chain back to your starting mark.
Filing the cutters
Each cutter has three things to file:
The top plate (the flat top of the cutter that does most of the cutting) The side plate (the inside curved face) The depth gauge (the rounded raker ahead of each cutter)
Top plate and side plate are filed together with the round file. Depth gauges are filed separately with the flat file, and only every 3-5 sharpenings.
The technique:
Hold the file horizontal, perpendicular to the bar. The file should sit naturally inside the curve of the cutter — if it's not seating, the file size is wrong.
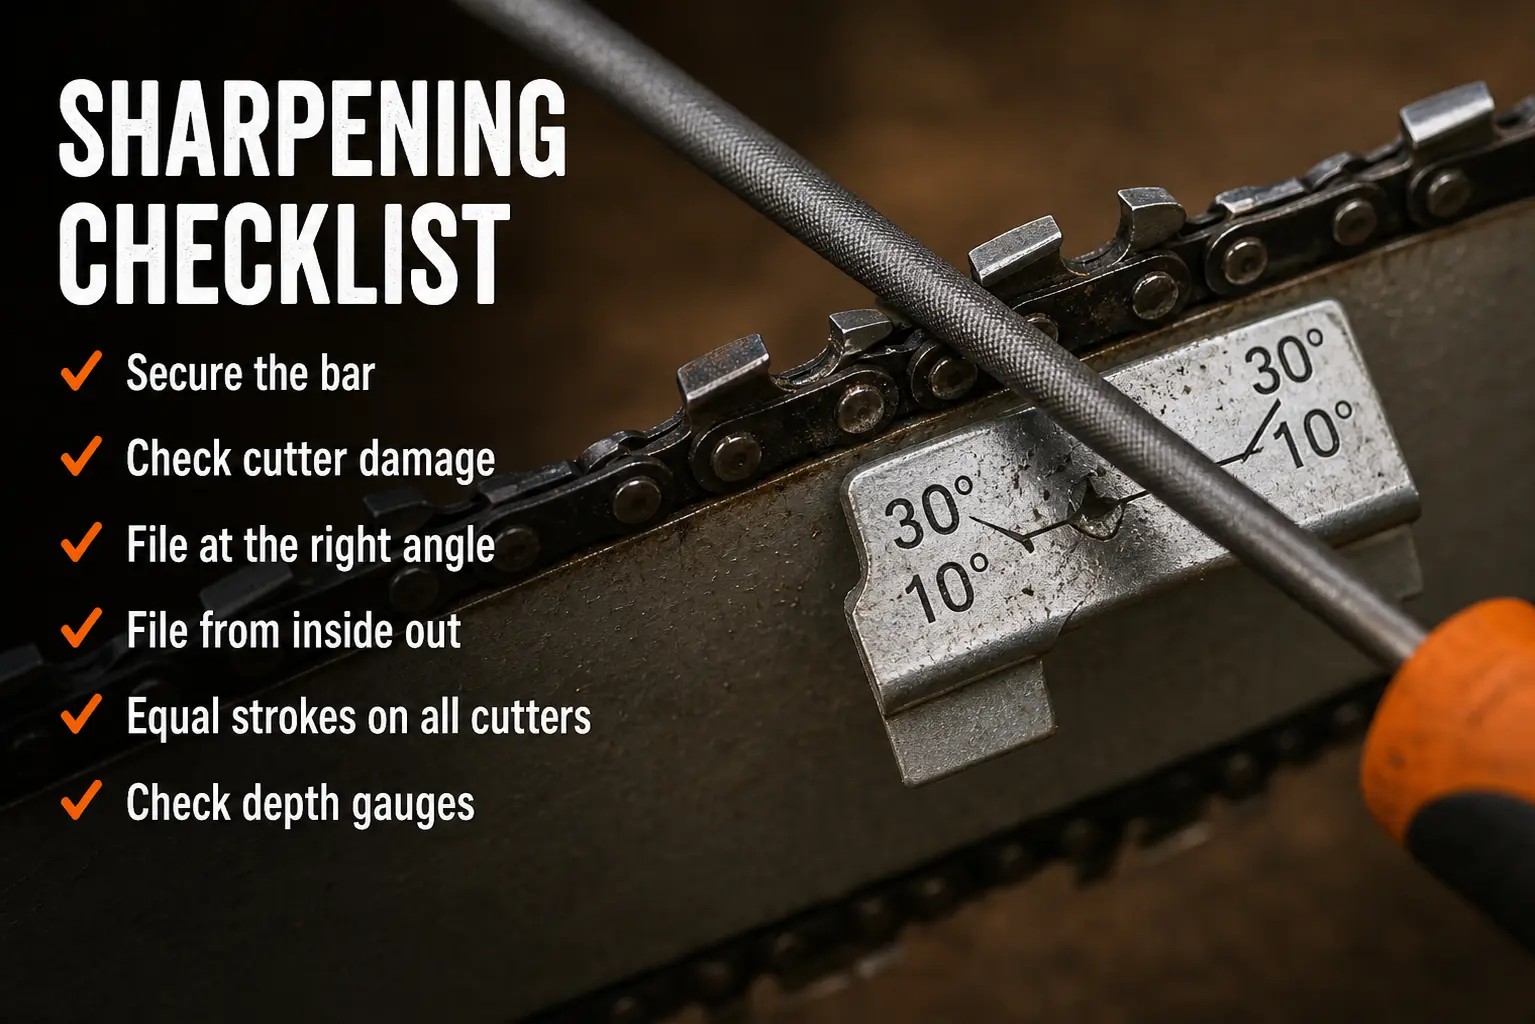
The top plate angle is usually 30 or 35 degrees, depending on chain type. This is what the file guide enforces — without one, you're eyeballing it. Most chains have a witness line or stamp on the top of each cutter showing the correct angle. Match it.
Push the file across the cutter from inside to outside, lifting it on the return stroke. Don't drag the file backward against the cutter — files only cut on the push stroke and dragging back wears the file out and dulls the cutter edge.
Three to five strokes per cutter is usually enough. The cutter should look shiny and sharp at the cutting edge, with no visible nicks or rounded spots.
Do every other cutter — chains have left-cutting and right-cutting teeth that alternate. Do all the left-cutters first by working around the chain, then flip the saw or move to the other side and do all the right-cutters. This prevents you from accidentally filing one side more than the other, which makes the saw cut crooked.
Filing the depth gauges
After sharpening cutters several times, the cutters get shorter — but the depth gauges don't. Eventually the gauges sit higher than they should relative to the cutter, and the chain stops biting deeply enough into the wood. This makes the saw feel underpowered and slow.
When to file gauges: Every 3-5 cutter sharpenings, or whenever the saw starts cutting noticeably slower despite being sharp.
Use a depth gauge tool (a flat metal gauge that sits on top of the chain). Common settings are .025" or .030" for hardwood and softwood respectively. Place the gauge over the chain, and any depth gauge that protrudes through the slot needs filing down.
Use the flat file to bring the gauge down flush with the gauge tool. Make a few light strokes — over-filing the gauges makes the chain too aggressive and prone to kickback.
After filing, lightly round the front edge of each gauge with the flat file. A square-edged gauge can grab and cause kickback.
Common sharpening mistakes
Things that make a chain cut worse, not better:
Wrong file size. A file that's too small cuts the bottom of the cutter and ruins the geometry. Too large and you can't get into the curve.
Inconsistent stroke count between teeth. If you do 5 strokes on one cutter and 3 on the next, you'll get cutters of different lengths. The saw will pull to one side and cut crooked.
Filing at the wrong angle. Especially common without a guide. The 30 or 35 degree angle isn't a suggestion — it's what makes the cutter slice cleanly through wood instead of scraping.
Forgetting to file the depth gauges. A chain that's been sharpened 10 times without ever touching the gauges will feel dull even when the cutters are razor sharp.
Letting the file get dull. Files wear out. After sharpening 5-10 chains, the file's cutting teeth get rounded and it stops biting into the cutter steel. A dull file makes you push harder, which causes inconsistent angles. Round chainsaw files are $5-10 — replace them when they stop cutting freely.
Not cleaning the chain first. Chains caked with sawdust and bar oil clog the file. Wipe the chain down with a brush or rag before sharpening.
How often to sharpen
This depends on what you're cutting and how careful you are about avoiding contact with dirt, rocks, or nails:
Light home use, careful operator: Sharpen every 4-6 hours of cutting time Heavy home use, mixed materials: Sharpen every 2-3 hours Anytime the chain hits dirt or a rock: Sharpen immediately. Even a glancing rock contact dulls multiple cutters in a single second. Post-storm cutting is the most demanding scenario — see post-storm chainsaw repair for what to expect over days of heavy cleanup use.
Signs your chain needs sharpening:
- The saw produces fine sawdust instead of clean chips
- You have to push down on the saw to keep it cutting
- The saw smokes during cuts
- Cuts come out crooked even with proper technique
- The chain dives into the wood at one specific angle
A sharp chain produces wood chips the size of corn kernels. A dull chain produces dust and shavings.
When sharpening won't fix it: time to replace
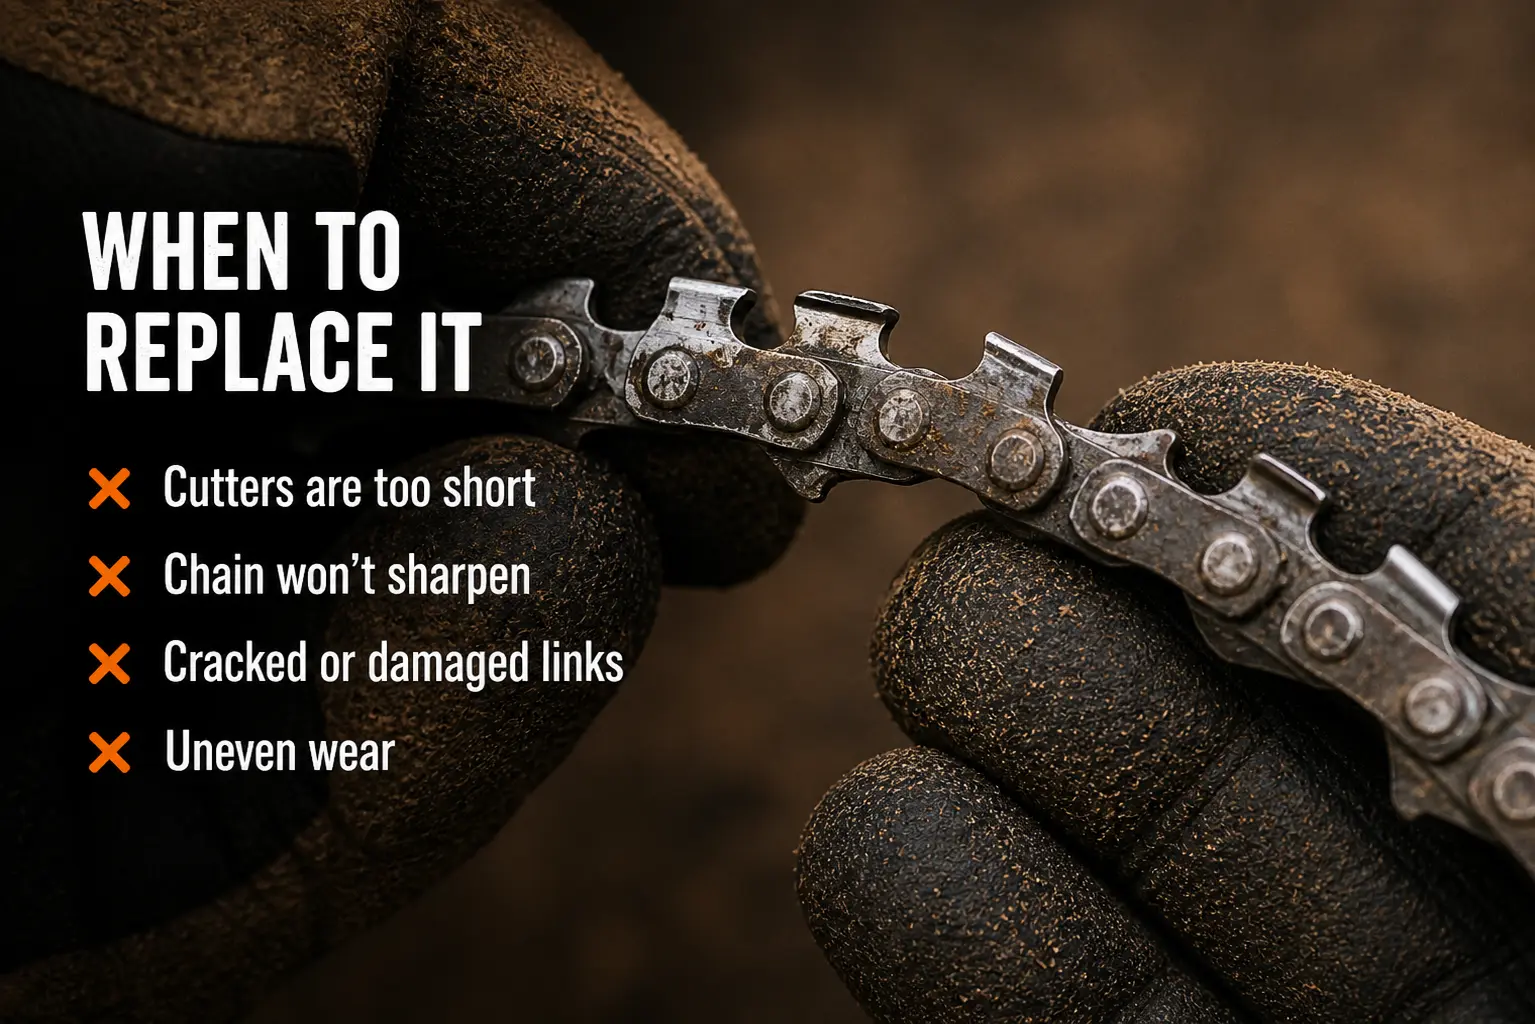
Sharpening extends a chain's life, but not forever. A chain is at end-of-life when:
The cutters are filed past the witness mark. Most chains have a small line stamped on the top plate showing the minimum cutter length. Filed below that, the cutter no longer holds geometry and the chain's structural integrity is compromised.
Multiple cutters are chipped or broken. One missing tooth is workable but reduces cutting efficiency. Three or more is time to replace.
The chain has been damaged by hitting metal or a rock. Not just dulled — actual damage where the cutter tips are bent or the rivets are spread.
The drive links show wear or damage. The bottom of each link rides in the bar groove. If the bottoms are mushroomed or the rivets are loose, the chain is done.
The chain stretches and won't hold tension. Properly tensioned chains stretch about 1/4 inch over their life. Beyond that, they're loose enough to cause problems and replacement is cheaper than the bar damage they cause.
A new chain costs $20-40 for most consumer saw sizes. Compared to a damaged bar ($40-100) or the time to repair a saw that threw a loose chain, replacing a worn chain promptly is the right call.
When to take it to a shop
Most home chain sharpening is DIY-friendly. Bring it to a shop when:
- You've damaged the chain and aren't sure if it can be sharpened or needs replacement
- You don't have time to sharpen it before a job — most shops will sharpen a chain while you wait for $10-15
- You want a precision sharpening from a bench grinder operator (some pro tree services use bench-ground chains exclusively)
- The chain has been sharpened so many times that the angles are inconsistent and you want it reset
Most independent saw shops sharpen chains while you wait. Pricing is typically $10-15 per chain on a bench grinder. The result is more consistent than hand filing and useful before high-volume cutting jobs. If the chain is fine but the saw won't start or runs poorly after storage, the issue is likely fuel-related — see why won't my chainsaw start for troubleshooting steps.
If you're not sure where to start, find a verified small engine repair shop near you below — most carry chains, bars, and sharpening services.
This guide covers standard round-ground chainsaw chains (Stihl, Husqvarna, Oregon, and most aftermarket brands). Square-ground (chisel) chains used by professional fallers require different filing techniques and angles not covered here. Always follow safety practices when handling sharp chains — file the cutters away from your body and wear gloves.