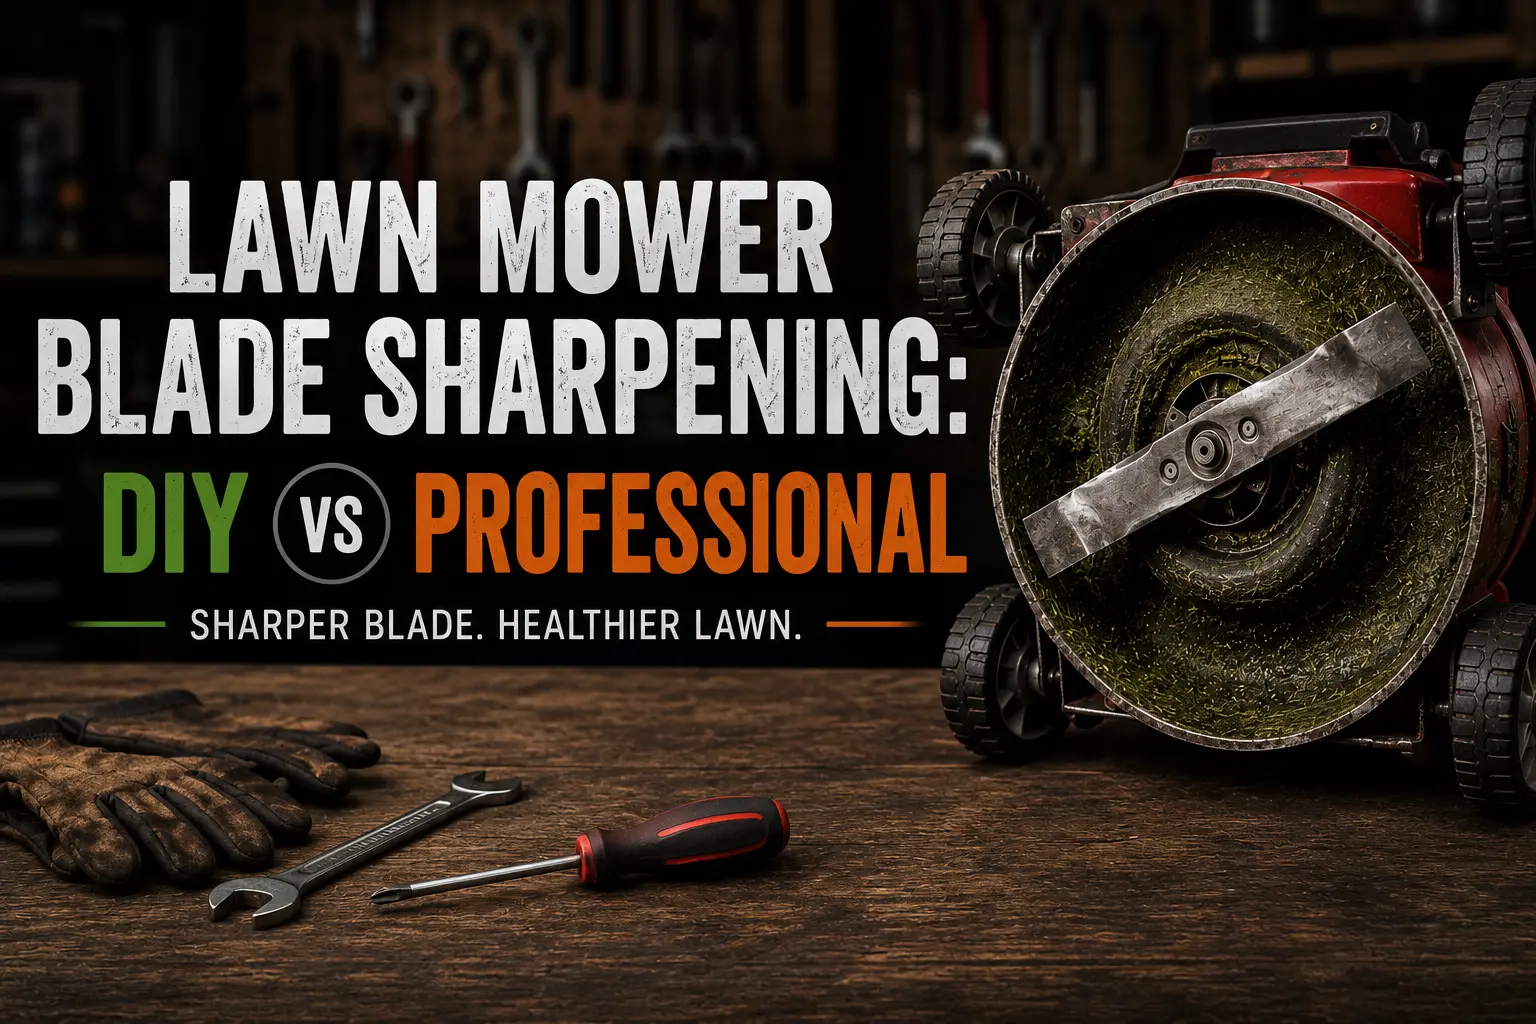
Lawn Mower Blade Sharpening: DIY vs Professional
A dull lawn mower blade doesn't cut grass — it tears it. The torn tips turn brown within a day or two, leaving your lawn with a ragged, stressed appearance. A sharp blade makes a clean cut that the grass heals quickly, resulting in a healthier, better-looking lawn with the same amount of work.
Blade sharpening is the most frequently neglected routine maintenance item on residential mowers. Most homeowners either never do it, or do it once and assume it lasts forever. It doesn't.
Here's what sharpening actually involves, what the professional service costs, whether DIY makes sense, and how to tell when the blade needs replacement rather than sharpening.
How often to sharpen
The honest answer is more often than most people do it. The practical guideline: sharpen the blade at the start of every mowing season, and again mid-season if you're mowing regularly or the lawn starts looking ragged after a fresh cut.
More specifically:
Sharpen immediately after hitting a hard object. Rocks, roots, stumps, edging material — any hard impact dulls the blade noticeably. If you hear a hard strike mid-mow, the blade needs attention before the next use.
Sharpen every 20-25 hours of mowing. For a typical suburban lawn mowed weekly through a five-month season, that's roughly once per season. For a larger property mowed multiple times per week, it may be two or three times per season.
Sharpen when you notice brown tips after mowing. Torn grass tips turning brown within 24 hours of mowing is the most visible indicator of a dull blade.
What professional sharpening includes

When you bring a mower to a shop for blade service, a complete job includes:
Blade removal. The blade is removed from the mower — this requires tilting the mower safely, securing the blade from spinning, and removing the center bolt (which is often very tight). On mowers with multiple blades (riding mowers, zero-turns), each blade is removed and serviced separately.
Inspection for damage. Before sharpening, the blade is checked for cracks, bends, and nicks that are too deep to grind out. A bent blade causes vibration that transfers to the engine crankshaft over time. A cracked blade is a safety hazard — it can fail at speed and throw fragments. Damaged blades are replaced, not sharpened.
Sharpening. The cutting edge is ground to the correct angle — typically 30-45 degrees depending on the blade design. The goal is a sharp edge without grinding so much material that the blade thickness becomes compromised.
Balancing. This is the step most DIYers skip, and it's the most important part. A blade that has more material on one side than the other vibrates when spinning. That vibration stresses the crankshaft bearings, the blade adapter, and the deck. Over time, it causes premature wear throughout the drive train.
A balanced blade hangs level when placed on a balancing cone or nail through the center hole. If one side dips, material is ground from the heavy side (from the back of the blade, not the cutting edge) until it hangs level.
Reinstallation. The blade is reinstalled at the correct torque. Under-torqued blades can spin or shift. Over-torqued bolts are difficult to remove next time.
Cost: Blade sharpening at a small engine shop typically runs $10-20 per blade. Some shops include it in a full tune-up service. A riding mower with three blades runs $30-60 for blade service alone.
DIY sharpening: what it actually requires
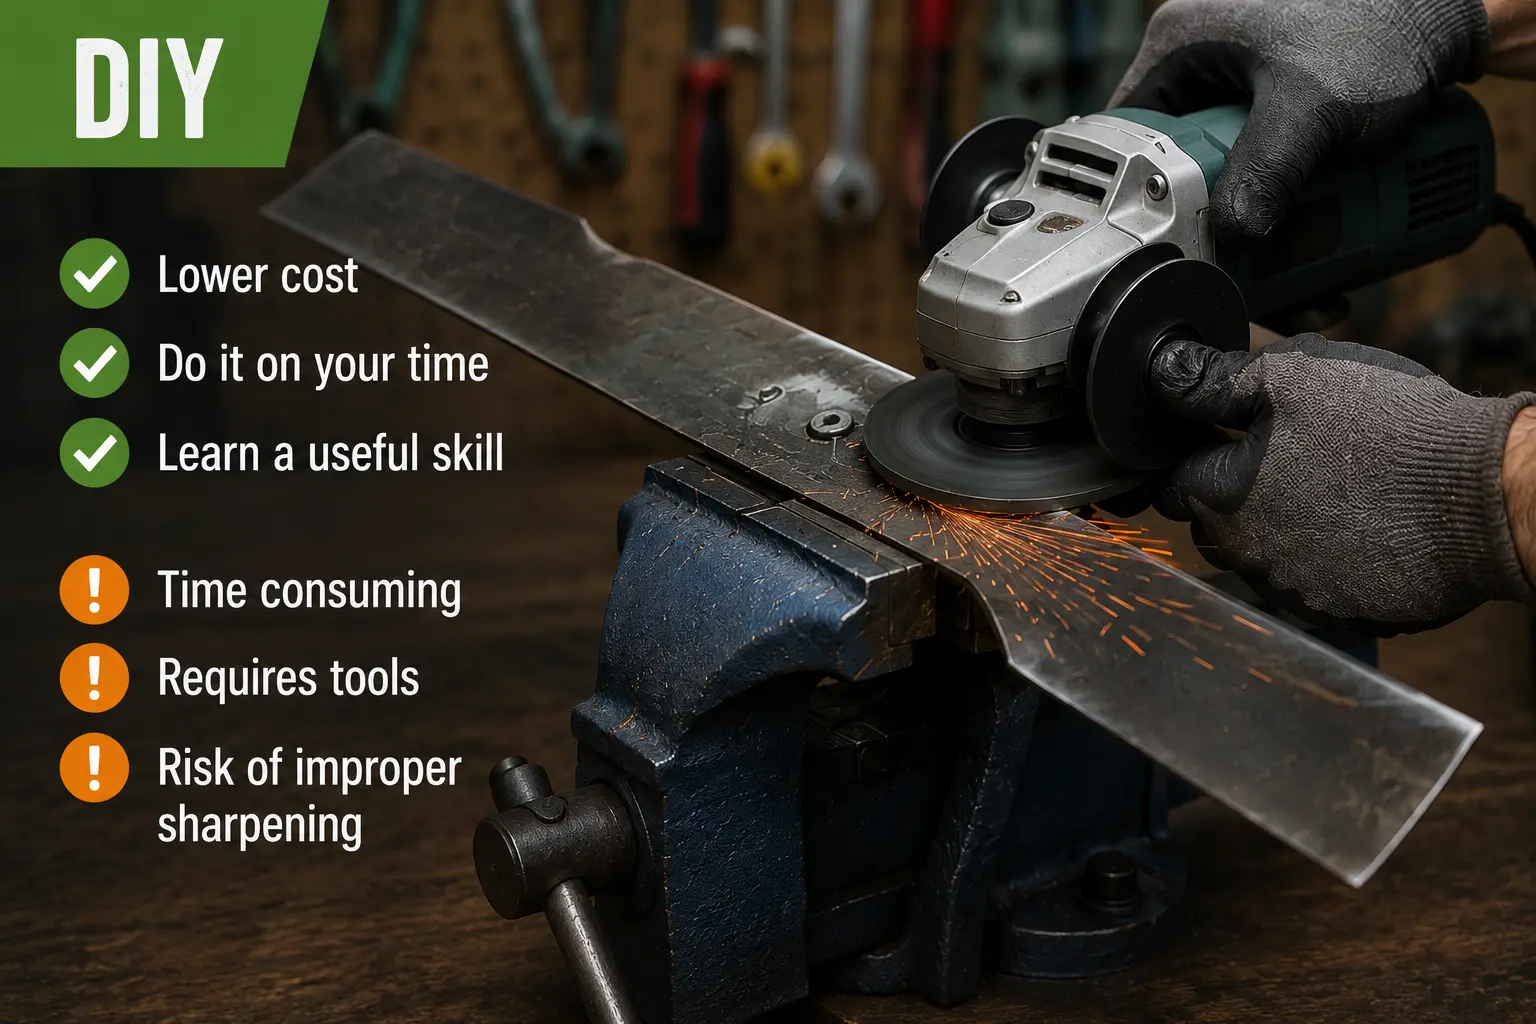
Sharpening a lawn mower blade yourself is possible with the right equipment. What you need:
An angle grinder or bench grinder. A file can technically sharpen a blade, but it's slow and produces inconsistent results. A 4.5" angle grinder with a grinding disc, or a bench grinder, produces a proper edge efficiently. Either tool costs $30-80 if you don't already own one.
A blade balancer. A cone-style balancer costs $5-10 and is the only reliable way to check balance after sharpening. Skipping this step is how DIY sharpening causes vibration problems. Don't skip it.
Safe blade removal. The center bolt on a mower blade is typically torqued to 50-100 ft-lbs. Removing it safely requires blocking the blade (a piece of wood wedged against the deck works), a breaker bar or impact driver, and the correct socket size. The bolt thread direction is standard right-to-left, same as most fasteners — loosen counter-clockwise.
The actual sharpening: Match the existing bevel angle (usually 30-45 degrees). Sharpen both cutting edges equally — the blade has a cutting edge at each end and must be sharpened symmetrically. Make smooth passes along the edge, keeping the angle consistent. Check sharpness by feel and look — a properly sharpened edge reflects light cleanly without visible nicks.
A good DIY sharpening job takes 20-30 minutes once you have the process down. The first time, expect 45-60 minutes.
When to replace instead of sharpen
Some blades are past sharpening. Replace rather than sharpen when:
The blade is bent. Even a slight bend causes significant vibration. Hold the blade by the center hole and sight down its length — it should be perfectly flat. Any curve warrants replacement. Don't try to straighten a bent blade by hammering it; you can't reliably restore the original geometry, and a straightened blade can still have internal stress fractures.
There's a visible crack. Any crack, anywhere on the blade, means immediate replacement. Do not use a cracked blade. At 3,000+ RPM, a blade failure throws metal fragments at extremely high velocity.
The cutting edge is too thin. Repeated sharpening removes material from the cutting edge until it becomes dangerously thin. If you can see light through the edge or the blade feels light compared to a new blade, it's been sharpened past its useful life.
Deep nicks that would require removing too much material. A nick that's 1/8" deep requires grinding away a significant amount of material to restore a clean edge, taking the blade below recommended thickness. Replace instead.
Replacement blade cost: $15-40 for most standard walk-behind mower blades. Riding mower blades run $20-50 each. Sticking with OEM blades for your specific mower model ensures correct thickness, center hole size, and lift angle — generic blades may fit but often produce an inferior cut.
Mulching blades vs. standard blades
Mulching blades have a different profile than standard high-lift blades — more curved surface area to chop clippings into finer pieces that fall back into the lawn rather than being discharged. They're sharpened the same way but should only be used if your mower deck is designed for mulching. Using a mulching blade in a discharge-only deck reduces airflow and cutting performance.
If you're switching from standard to mulching blades (or back), confirm the blade length and center hole size match your deck specifications before buying.
The bottom line on DIY vs. professional
Do it yourself if: You're comfortable using an angle grinder safely, you'll invest in a balancer, and you mow often enough that the tool investment makes sense over multiple seasons.
Use a shop if: You don't have the tools, you're not comfortable with the grinder and safe blade removal, or you only need it done once a year and the $15-20 service cost is a better use of your time.
Either way, do it consistently — the difference between a sharp blade and a dull one is visible in your lawn within a week of mowing.
Use the directory search below to find small engine repair shops near you that offer blade sharpening service.
This guide covers standard rotary mower blades on walk-behind and riding mowers. Reel mower blades (cylinder-style blades on reel mowers) require different sharpening equipment and aren't covered here.