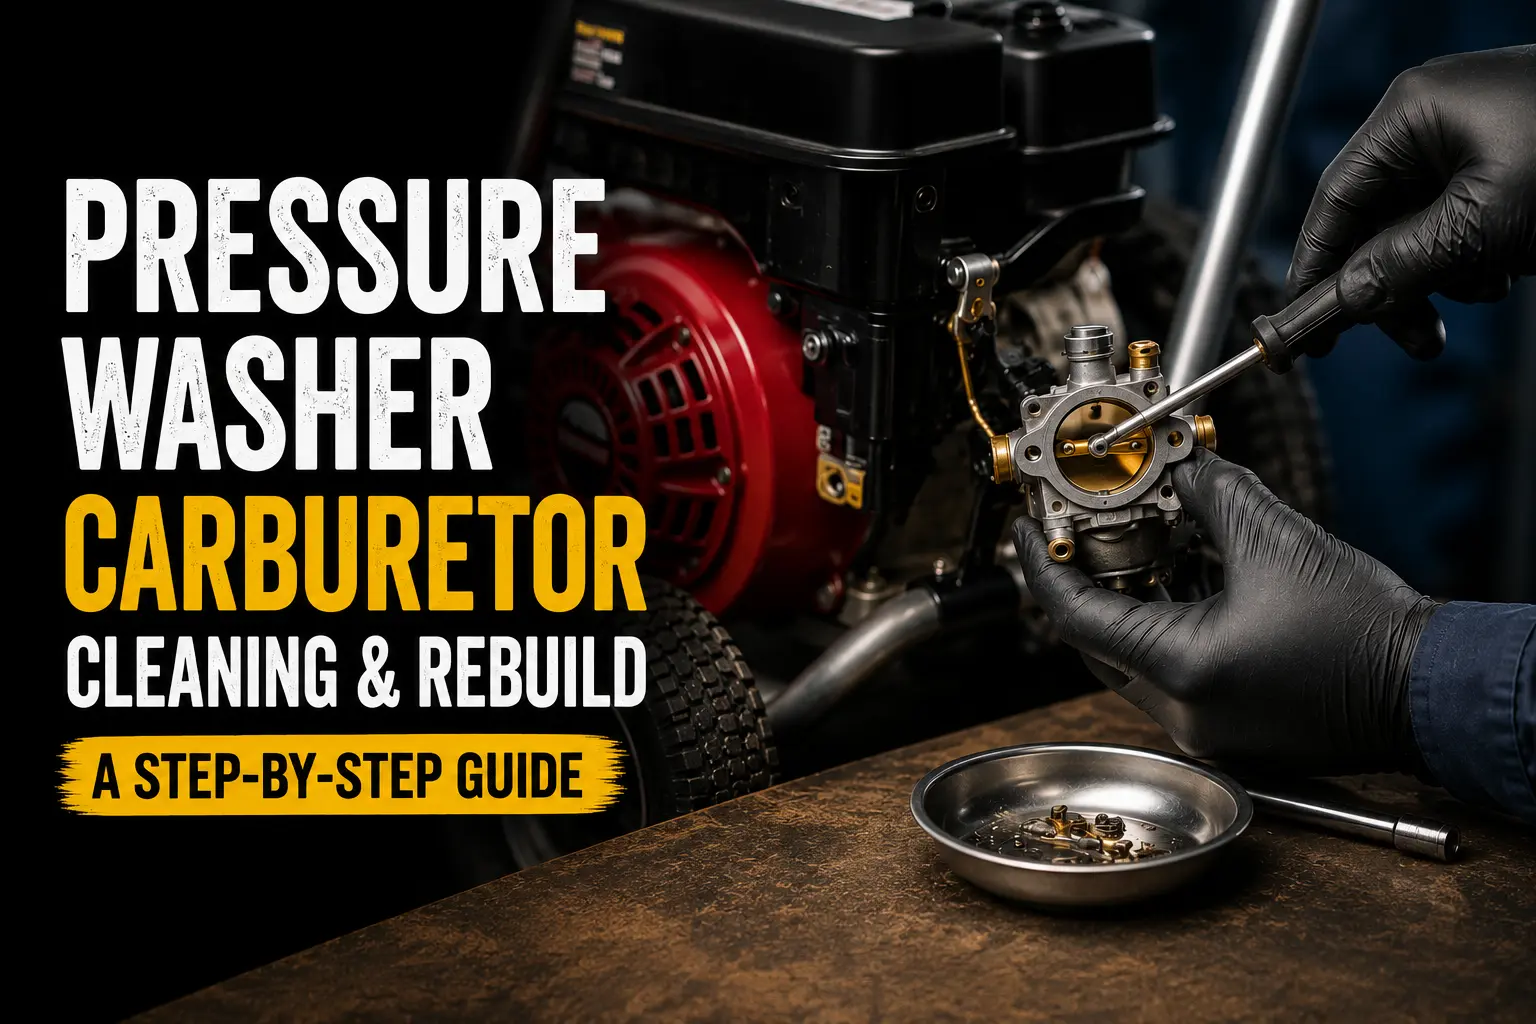
Pressure Washer Carburetor Cleaning & Rebuild: A Step-by-Step Guide
If your pressure washer engine starts but won't hold idle, surges under load, or fires for a few seconds and dies, the carburetor is almost certainly the cause. Pressure washer carburetors are uniquely vulnerable to ethanol fuel damage because the units often sit unused for 6-12 months between projects — long enough for fuel to varnish and clog the carburetor's tiny passages.
This guide covers diagnosis, the quick spray-clean fix that works for mild varnish, and the full disassembly-and-rebuild process for fully clogged carburetors. It also covers when to bring it to a shop versus DIY.
If your pressure washer won't start at all, the pressure washer won't start guide covers broader troubleshooting first. This article assumes you've identified the carburetor as the issue.
Symptoms of a fouled pressure washer carburetor
The carburetor on a pressure washer engine has the same job as on any other small engine: mix air and fuel in the correct ratio before it enters the cylinder. When fuel varnish blocks the carburetor's passages, the mixture goes wrong, and the engine shows it in predictable ways:
- Engine fires for 1-2 seconds and dies — fuel reaches the cylinder for one or two ignition cycles, then the carburetor can't deliver enough for sustained running
- Engine surges or hunts — RPM rises and falls in a 2-3 second cycle as the carburetor delivers inconsistent fuel
- Engine won't idle, dies when you release the throttle/choke — idle circuit fully clogged
- Engine runs only with choke fully on — main circuit clogged, choke restriction is the only way to get enough fuel to combust
- Won't start at all even with fresh fuel — passages so clogged no fuel reaches the cylinder
- Hard starting when warm, fine when cold — float bowl varnish that releases when fuel cools and re-blocks when warm
If you have one or more of these symptoms after fresh fuel didn't fix the problem, the carburetor needs cleaning.
Quick fix: spray cleaning (works about 60% of the time)
For carburetors that are mildly varnished — usually from sitting 4-8 months with stabilized fuel — a can of carburetor cleaner often clears enough of the buildup that the engine runs cleanly again. This is the fastest, cheapest fix and worth trying before disassembly.
What you need:
- A can of carburetor cleaner ($8-15)
- Eye protection
Procedure:
- Pull the air filter cover and remove the filter element (set aside, you'll reinstall later).
- With the air intake fully exposed, start the engine if you can. If not, have someone pull the cord while you spray.
- Spray short bursts of carburetor cleaner directly into the air intake while the engine runs at low throttle. Two-second bursts every 5-10 seconds, not a continuous stream.
- If the engine isn't running, spray brief bursts while pulling the starter cord — the cleaner reaches the carburetor passages through suction.
- Run the engine for 5-10 minutes after spraying to burn off the cleaner residue.
- Reinstall the air filter.
If the engine smooths out after 2-3 minutes of running, spray cleaning worked and the carburetor is functional again. If the symptoms continue after 10 minutes of run time, the varnish is too thick for spray cleaning and full disassembly is needed.
Full disassembly and clean (for stubborn varnish)
When spray cleaning doesn't solve it, the carburetor needs to come off the engine and get serviced. The process below applies to most consumer pressure washer engines (Honda GC160/190, Briggs & Stratton 875EXi, Powermate, Champion). Specific bolt counts and orientation may vary by engine.
What you need
- Phillips and flathead screwdrivers
- 10mm and 8mm sockets or wrenches
- Carburetor cleaner spray
- A bowl or container for soaking
- Small wire brushes or pipe cleaners
- A carburetor rebuild kit appropriate for your engine ($10-25) — the linked kit fits the common Honda GC160/GCV160/GCV190 engines used on Simpson and many Generac consumer pressure washers
- Clean work surface
- Camera (your phone) for documenting how parts come off
Step-by-step
1. Disconnect spark plug wire. Safety first — prevents accidental start.
2. Drain fuel. Close the fuel valve (if equipped) and let any fuel in the carburetor drain by opening the float bowl drain screw. Capture in a container.
3. Remove air filter housing. One or two screws hold it to the carburetor. Pull it off and set aside.
4. Disconnect throttle and choke linkages. Note the orientation with a photo. Springs and rods usually slip off without tools — pry gently with a small screwdriver if they're stuck.
5. Disconnect fuel line. Pinch off with hemostats or a clamp first to prevent fuel spillage. Pull the line off the carburetor inlet.
6. Remove carburetor mounting bolts. Usually two bolts holding the carburetor to the engine flange. The bolts may be different lengths — note positions.
7. Pull carburetor straight off the engine. It may have a gasket that stays on the engine flange (or comes with the carburetor) — keep track of both.
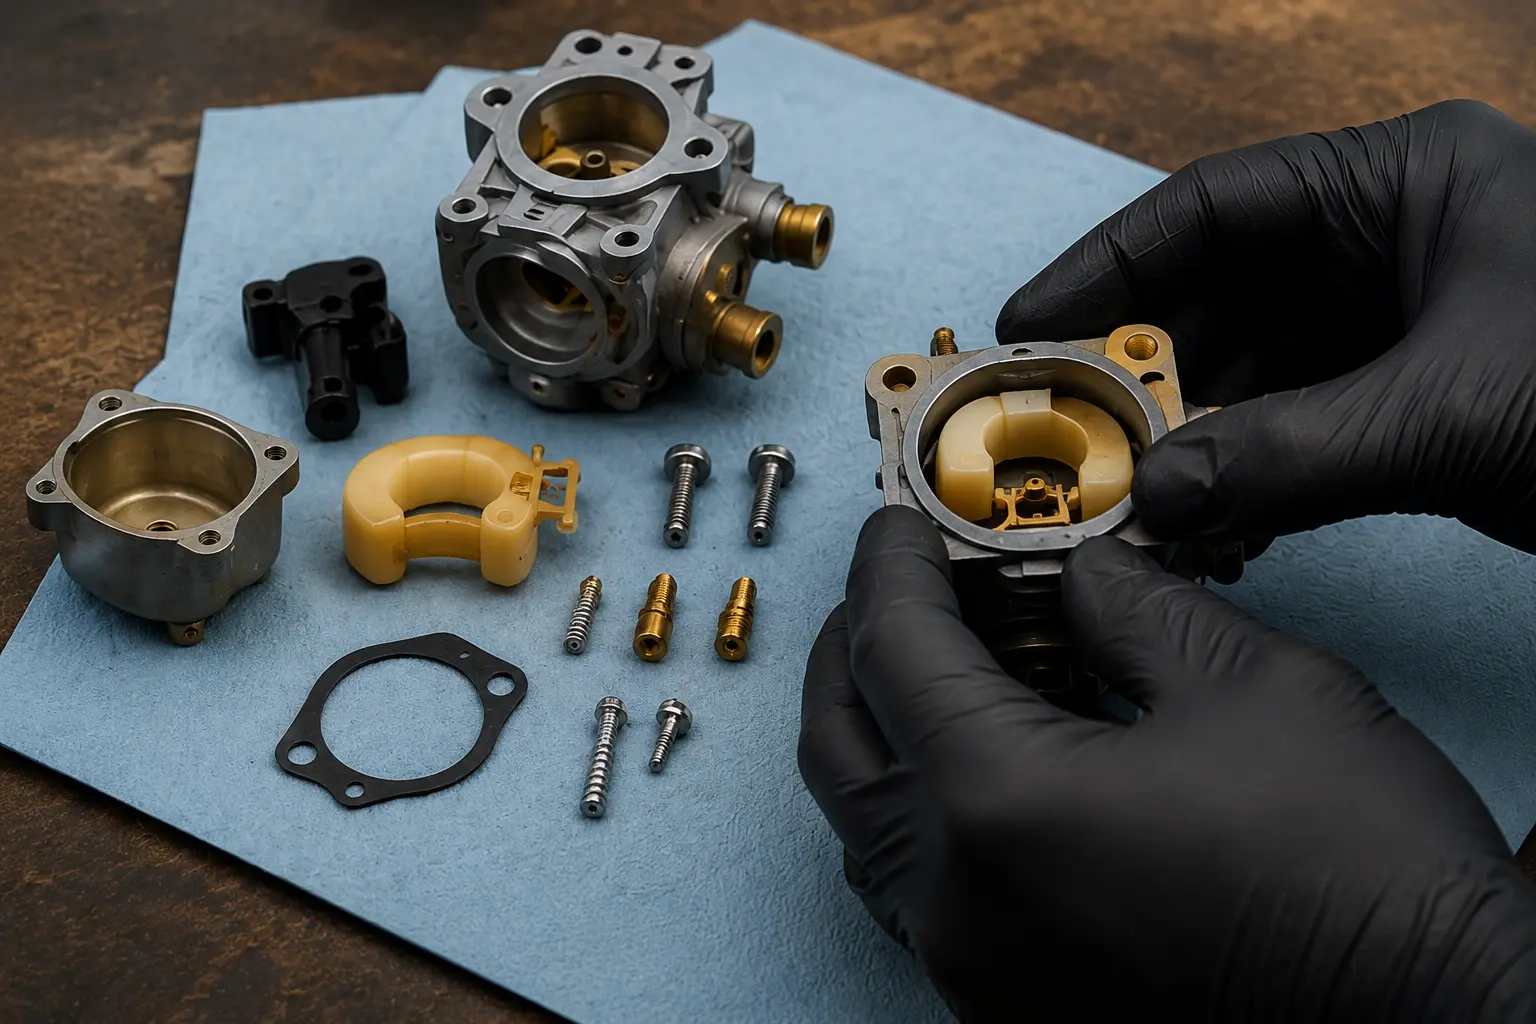
8. Disassemble the carburetor:
- Remove the float bowl (one screw on the bottom on most consumer carbs)
- Carefully remove the float and float pin (don't lose the small needle valve)
- Remove the main jet (a brass screw in the carburetor body)
- Remove the idle mixture screw (small slotted brass screw on the side)
- Remove any pilot jet or emulsion tube if present
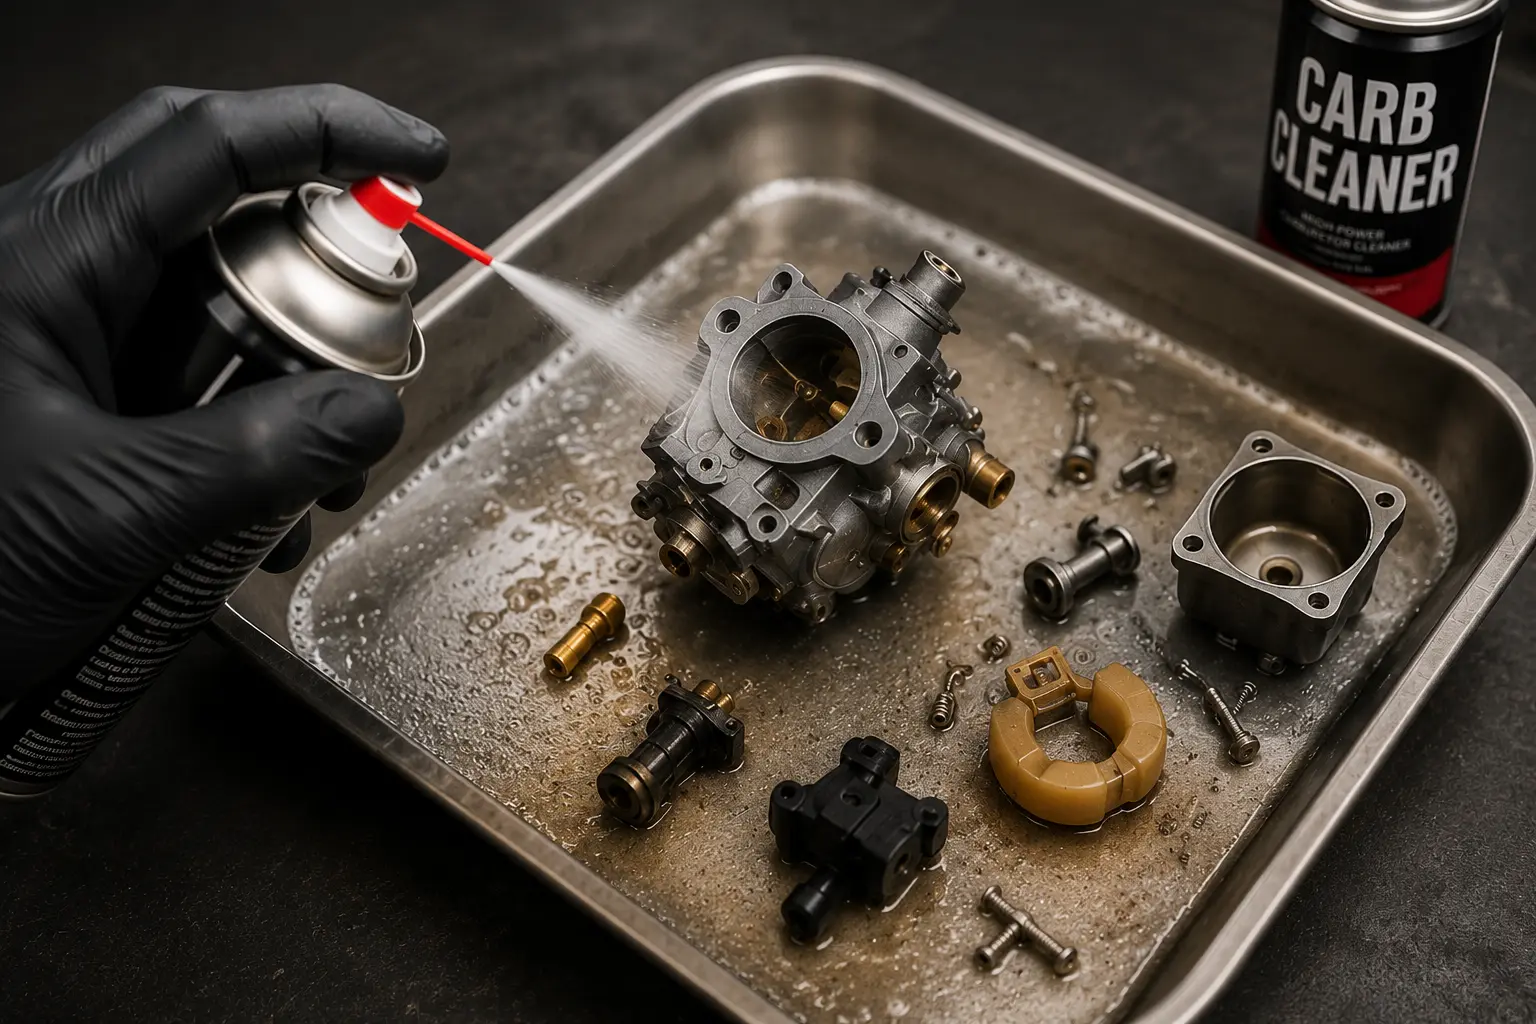
9. Clean each piece in carburetor cleaner. Soak metal parts for 10-15 minutes. Use pipe cleaners or fine wire to clear all passages — every hole in the carburetor body and the jets needs to be visibly clear. Don't reuse cleaner that turns dark; pour fresh.
10. Inspect rubber/plastic parts. The float needle tip (rubber), the float bowl gasket, and the carburetor-to-engine gasket should all be replaced if your rebuild kit includes them. Hardened or cracked rubber parts cause leaks and persistent fouling.
11. Reassemble in reverse order. Use new gaskets from the rebuild kit. Don't over-torque — these are aluminum carburetors and bolt holes strip easily.
12. Reinstall on the engine. Connect fuel line, throttle/choke linkages, air filter. Reconnect spark plug wire.
13. Set idle mixture. Most consumer carbs have a screw you turn in (clockwise) until the engine stumbles, then back out 1.5-2 turns. Adjust for smoothest idle.
14. Test. Open fuel valve, start engine, run for 10 minutes. Confirm no leaks, smooth idle, accepts throttle.
Total time: 2-3 hours for a first-time DIYer, 60-90 minutes once you've done it before.
When to rebuild vs replace the carburetor entirely
Sometimes a clean isn't enough — the carburetor itself has worn parts beyond what a rebuild kit replaces. Replace the whole carburetor when:
- Throttle shaft is loose in its bore — wallowed-out shaft creates vacuum leaks no amount of cleaning fixes. Common on units with 500+ hours.
- Float bowl threads are stripped — the bowl won't seal even with a new gasket
- Carburetor body has corrosion pitting on critical surfaces — happens when units sit with water-contaminated fuel
- You've cleaned it twice and it still surges — there's an internal issue you haven't found
Consumer pressure washer carburetors run $25-60 brand new. For most owners, replacing the whole carburetor saves 60-90 minutes of disassembly time and gives a clean baseline. Aftermarket carburetors that fit Honda GC160/190 and Briggs 875EXi engines are widely available and work fine for residential use. If the carburetor service doesn't fully restore performance, the pump may also need attention — see the pressure washer pump rebuild guide.
Engine-specific notes
Honda GC160 / GC190 (Simpson, many Generac consumer models, mid-tier Briggs-powered units): The carburetor is held on by two 8mm bolts. The float bowl has a single screw with a copper gasket — replace the gasket on reassembly. The idle mixture screw is small and easy to overtighten — hand-tight only when seating.
Briggs & Stratton 875EXi / 1150 Professional: The carburetor uses a "Choke-a-Matic" auto-choke design that doesn't have a separate idle mixture screw. Cleaning is simpler but rebuild kits are slightly more expensive (~$15-25). The float assembly is one piece — replace the whole thing if the needle is worn.
Powermate / Subaru engines: Less common but found on some budget pressure washers. Rebuild kits can be harder to source — search by exact engine model number, not the pressure washer brand.
Champion engines: Newer Champion engines use Honda-clone designs and the rebuild process matches Honda GC160. Older Champion engines (pre-2018) had unique designs and may require manufacturer-specific kits.
Common rebuild mistakes
These are the failures shops see when DIYers bring in a "rebuilt" carburetor that still doesn't run right:
Skipped a passage in cleaning. Carburetors have multiple cross-drilled passages that aren't visible from outside. If any one is still blocked, the carburetor fouls again within hours. Use compressed air or carburetor cleaner spray to verify every passage flows clear before reassembly.
Float height not adjusted. Replacement needle valves come with different tip lengths. If the float sits too high, fuel floods the engine; too low, fuel starves. Most rebuild kits specify the float height in millimeters from the carburetor mating surface — measure with a ruler if the kit gives a number.
Used wrong rebuild kit. Carburetors look similar across engines but jet sizes and passage layouts differ. Match the kit to your specific engine model, not "Honda GC pressure washer" generically.
Over-torqued the float bowl screw. This strips the threads in the carburetor body, which then leaks fuel from the bowl. Snug, not torqued.
Forgot to reattach throttle return spring. Without it, the throttle stays wide open when you release the trigger — engine over-revs dramatically. Easy mistake on first reassembly.
Reinstalled a brittle fuel line. Pressure washers stored with ethanol fuel develop brittle fuel lines that crack near the carburetor inlet. If the line is over 3 years old and feels stiff, replace it while the carburetor is off — much easier access.
When to bring it to a shop
Pressure washer carburetor work is DIY-friendly with patience. Bring it to a shop when:
- You've cleaned twice and the engine still surges — there's an underlying issue
- Throttle shaft is loose (vacuum leak no amount of cleaning fixes)
- The carburetor is electronically controlled (rare on consumer pressure washers, common on commercial)
- You don't have a clean workspace (small parts disappear, jets are easy to lose)
- The pressure washer is under warranty (DIY voids it)
- You're not comfortable with small-parts disassembly
Independent shops typically charge $80-120 per hour. A full carburetor service runs $80-150 at most independent shops, plus parts. Authorized dealer pricing runs 20-40% higher. For Honda Power Equipment-branded pressure washers (full Honda units, not Honda-engined Simpsons), warranty work must go through an authorized Honda dealer.
If you're not sure where to start, find a verified pressure washer repair shop near you below — most will give a phone diagnosis and rough cost estimate before you bring the unit in.
This guide covers gas-powered consumer and prosumer pressure washers with conventional float-bowl carburetors (Honda GC, Briggs & Stratton, Powermate, Champion, and most generic Asian-import engines). Carburetor designs vary by engine — always match your rebuild kit to the specific engine model. Electronically controlled or fuel-injected pressure washer engines are rare on consumer units and aren't covered here.